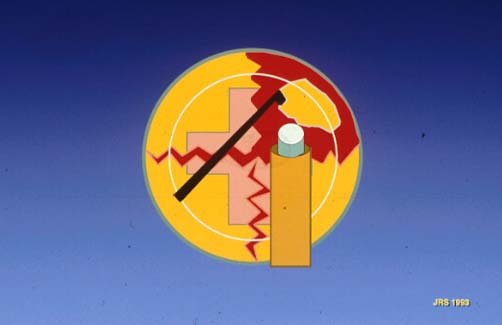
The four quadrant divide and conquer phacoemulsification procedure (Slide 1), or in situ fracture as I originally named it, was first performed in 1988. This tutorial discusses the origination and the steps of the four quadrant divide and conquer phaco technique.
Introduction
Initially, approximately one out of three American surgeons were performing phacoemulsification as their routine procedure. Capsulorrhexis or circular capsulotomy had been described by Ferco, Graither, Gimbel, and Neuhann, but almost no surgeons were using it. The plate-haptic silicone implant often slipped out of the can-opener capsulotomy. At that time, I was having some success by using a capsulorrhexis technique to entrap the IOL, but this new capsulotomy made prolapsing the nucleus as taught to us by Richard Kratz, MD, difficult and time consuming.
For some time, I simply phacoemulsified the nucleus in the bag by carving and rotating, but this was tedious. I visualized sectioning the nucleus into quadrants, but had no idea of how to accomplish it. I considered designing a type of tonsil snares to slip around the nucleus and cut it into fours. I thought of carving the cross hatch grooves into the nucleus, but I did not believe that I could carve completely through without breaking the posterior capsule. Then I viewed a tape of Howard Gimbel, MD, performing cataract surgery.
At that time, Gimbel sculpted off the right edge of the nucleus to get an edge. Then he took a bite off this edge with the phaco tip and broke off a small chunk which he phacoemulsified. This proceeded until the whole nucleus had been consumed. He called it "divide and conquer." The name did not accurately describe the procedure because there was no division occurring, but it described the procedure that I had in mind. I suddenly knew exactly how I wanted to divide the nucleus.
The next time that I performed cataract surgery, I created a capsulorrhexis, hydrodissected the nucleus so that it was freely movable, and grooved from 12 o'clock to 6 o'clock and then from 3 o'clock to 9 o'clock. I slipped the phaco tip into the groove and pressed against the one side while I pushed against the other with a spatula; the nucleus separated. I rotated the nucleus and fractured the other groove. Four equally separated quadrants were lying in the capsular bag and were each phacoemulsified in turn. I still have the videotape of that first procedure and it looks almost exactly like the procedure performed today.
This technique was first presented at the 1989 Contact Lens Association of Ophthalmologists meeting and 2 months later at the 1989 American Society of Cataract and Refractive Surgeons. It was initially taught as an "advanced technique" but soon I received reports from universities that it was ideal for teaching residents. It rapidly became popular and it remains the most common technique of phacoemulsification used in the world.
I no longer use it as my primary procedure. I gravitated to making one groove and fracturing from it. This is best described by the Paul Koch, MD, in his "stop and chop" technique. I then progressed to straight cracking of the nucleus because of the advantage of speed. Recently, however, I have found that, in very hard nuclei or nuclei with very weak zonules, carving the groove well into the hard nuclear plate allows one to fracture without putting undue stress on the zonules. This decreases the chance of dislocating the lens, which is the most frequent complication in very hard cataract cases.
I still consider the four quadrant divide and conquer technique the best procedure to learn. Not only is it easy to learn, efficient, and safe, but also various components of the procedure are invaluable when one progresses to fracturing. The following is my revised technique.
- Following your incision of choice (I prefer a 3-mm, clear corneal incision performed temporally), make a large (5-mm to 6-mm) capsulorrhexis.
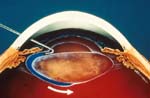
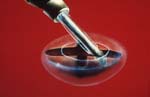
- Hydrodissect the contents of the bag from the capsule (Slide 2). If the "golden ring" of the nucleus can be seen, the epinucleus is still attached to the capsule which is not desirable. When hydrodissecting, get as close to the capsule as possible so that the epinucleus stays attached to, and is removed at the same time as, the nucleus. Be sure the nucleus can be easily rotated following the maneuver.
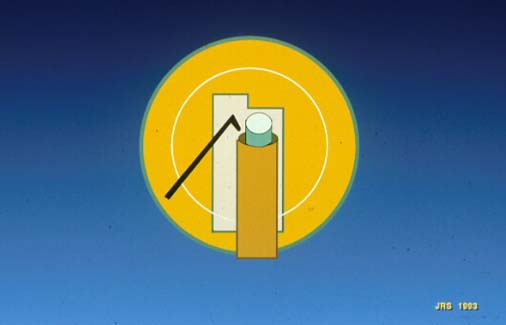
- Use a 30° phaco tip to carve a groove from the incision site to directly opposite the incision site (Slide 3A and Slide 3B). Use the phaco tip as you would a wood plane not as if it were a chisel. Make very shallow passes across the surface so the tip does not bite into the nucleus. Little or no pressure should be transmitted to the zonules. This groove should be two phaco tips wide. Proceed to the next step when you are close to the posterior capsule or whenever the shaving has become more difficult. (This procedure does not require a sophisticated phaco instrument. It can be performed with the most rudimentary instrument.) My settings are vacuum 150 mm Hg, flow 34 cc, with power at 50%.
- Rotate the nucleus 180° and carve from the other side of the nucleus (Slide 4). This shaving and rotating can be repeated until you have a two phaco tip wide groove from one side to the other and is so deep that you get a good red reflex through its base.
- Rotate the nucleus so the groove is parallel to the incision. Then, groove across the center of the first groove until you have the appearance of a Phillips screw head. If both of these grooves are two phaco tips wide, you will have removed approximately 40% of the nucleus including almost all of the hard nuclear plate.
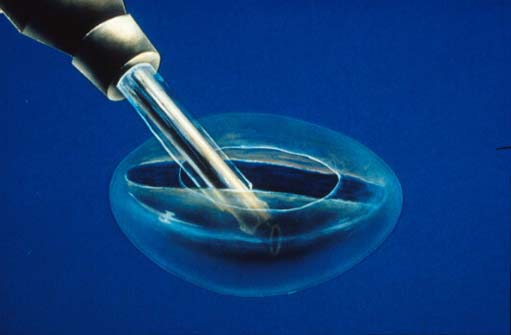
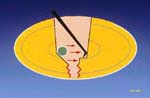
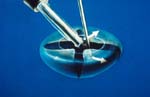
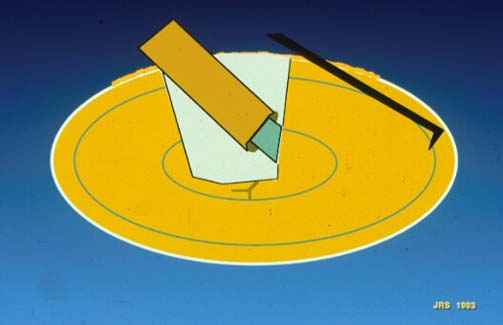
- Place the phaco tip and a nucleus cracking instrument into the distal groove and gently separate them, fracturing the nucleus at that point (Slide 5A and Slide 5B). Repeat this maneuver until the nucleus is divided into four quadrants. If the grooves are deep and the instruments are deep, the sections will almost fall apart.
- Each quadrant is then phacoemulsified and aspirated (Slide 6A and Slide 6B).
- Aspirate the cortex using a bent, 45° irrigation and aspiration tip.
- Clean the posterior surface of the anterior capsule with a polishing device.
Common Errors
Following are the most common errors introduced during a four quadrant divide and conquer technique.
- Not making the groove wide enough. If the groove is less than two tips wide, one encounters resistance as the groove is deepened by the tip rubbing on the sides. Stereopsis and visualization of the base of the groove can be impacted if the groove is not wide enough.
- Not making the groove deep enough. If the groove is shallow, fracturing becomes more difficult. If the grooves are almost through the lens, the quadrants almost fall apart with minimum effort.
- Biting into the nucleus instead of making shallow passes.
- Not controlling the tip as it reaches the periphery. The tip should be visible as it reaches the end of the groove. Remember the lens is much less thick here and if one continues, the capsule can be perforated.
- Not placing the phaco tip and the chopper deep into the groove when fracturing. If these instruments are shallow or if the groove is shallow, the nucleus may bend instead of separate.
Advantages and Disadvantages
An advantage of the four quadrant divide and conquer technique is that the cataract is sectioned before it is removed from the bag. Also, approximately one-half of the cataract is removed, including the hard nuclear plate while safely held by the capsule. If done gently, no tension is caused in the zonules.
A disadvantage is that the technique requires more time and therefore more ultrasound energy and more irrigation than fracturing.
Modifications
As one progresses with more cases and wishes to speed up the procedure, the natural progression is to perform stop and chop phaco. One simply makes one groove, fractures, and then chops the hemisections into thirds. With the full thickness of the nucleus visible, the surgeon can bite into the deeper portion, keep suction up to hold and stabilize, and chop next to the tip with some type of chopper. I have designed the Shepherd Tomahawk (Rhein, Tampa, Fla).
Even when one primarily performs chopping, the very hard nucleus will lend itself to grooving before chopping. This allows a deep bite without stressing the zonules.
Surgeons must remember that when primarily fracturing and not grooving, there is more bulk to remove, so the nucleus should be separated into at least six sections to facilitate phacoemulsification.